
Counterfeit Kit Club
LOAD1014
scrapbooking
tutorial
Layout a Day (LOAD1014) - Day Four & Tutorial
10:57 AM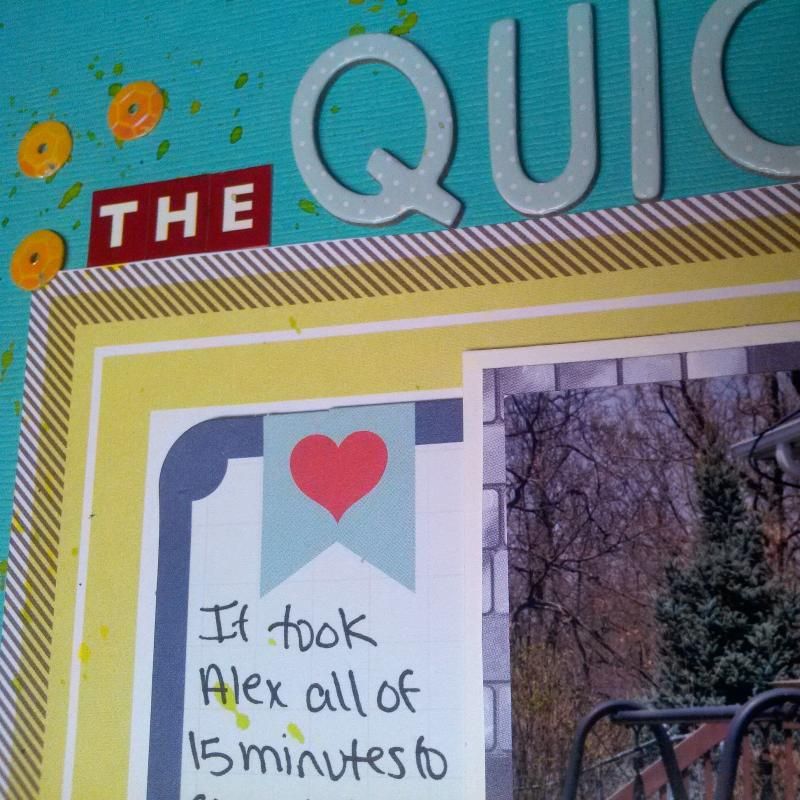
The Layout
This was a super simple layout, which is always a struggle for me! I started with another Simple Scrapper sketch from the Spark magazine (#5), however, it quickly became altered to the point that there is very little of the original sketch left. This month Jennifer Wilson of Simple Scrapper has us focusing on white space, which is another struggle for me because I always want to fill every little bit of my scrapbooking layouts! Another struggle that I had with this layout was trying to keep it masculine with such a feminine kit. I had very little embellishments that were not floral in nature, and I definitely did not want to include those on this layout.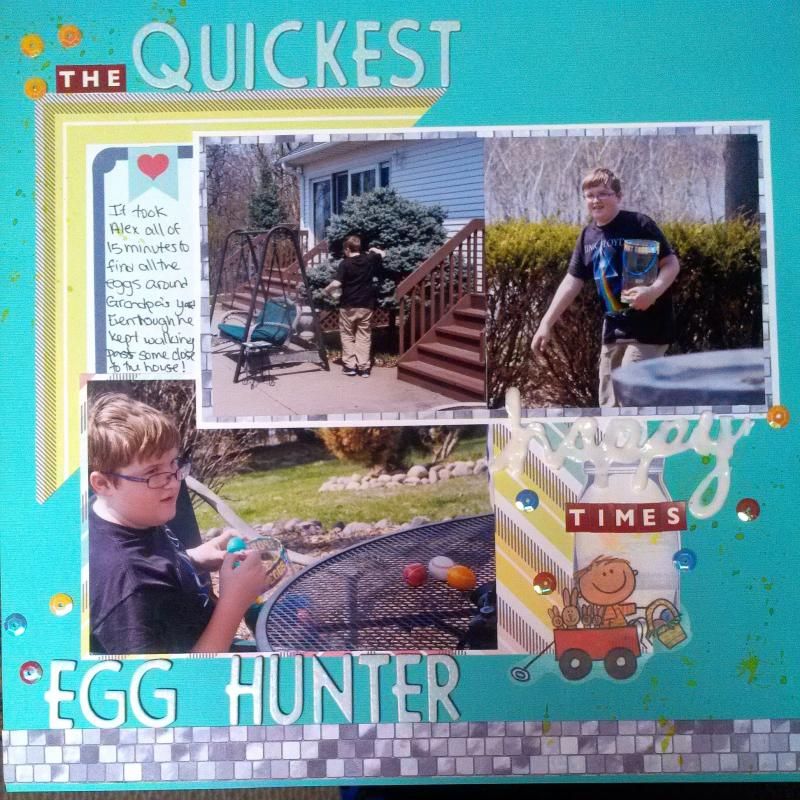
Faux Acrylic Word Technique
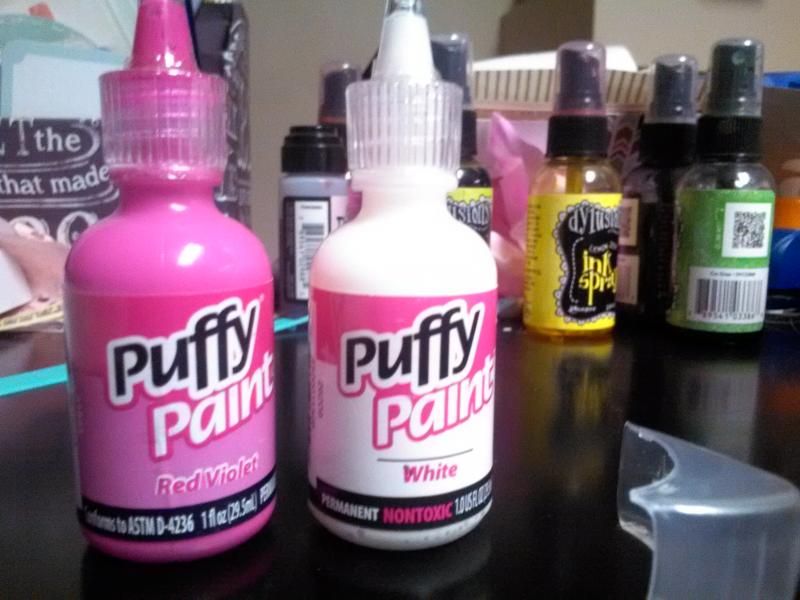
In honor of the Counterfeit Kit Club moving their "Hey...I can Make That" series to the 4th of the month, I have a really cool technique to share with you. I used puffy paint (that you can find at Walmart) and wrote some words out in a cursive/script writing that I thought would work well with the photos from Easter that I'm currently scrapbooking. I used wax paper as my surface to write on, because I figured it would peel off fairly easy.
The key to this technique is write very thick. The thinner areas of your word or design are much harder to peel off, and may tear or stretch or rip. And patience is definitely required for this technique!
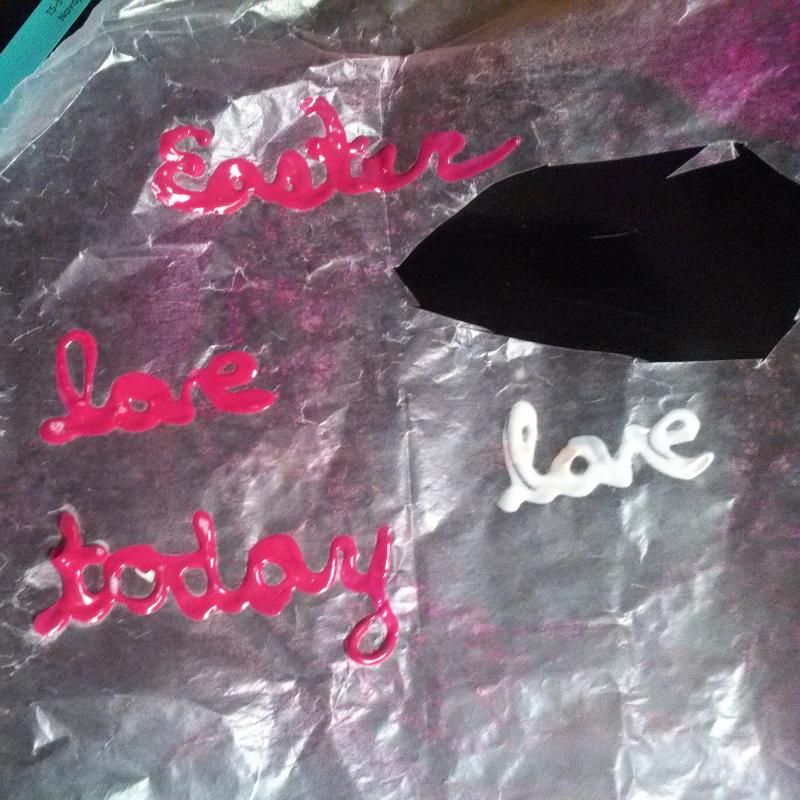
Here you can see the words that I made in this batch, minus the word "happy" that I used on my layout, because it kept sticking to other words. Arg. So I cut it out and then slowly peeled it off the wax paper. As a word of warning, I did have to trim some of the little bits of wax paper that ripped and hung on to the word. Because the puffy paint remains a bit tacky, you have to be careful not to let the letters stick to one another as you peel back the wax paper. Below, you can see a close up of the word on my layout. I adhered happy with some sticky glue dots in a glue runner. The glue dots held very well and did not rip the word at all as I apply them (which I was kind of afraid it might do).
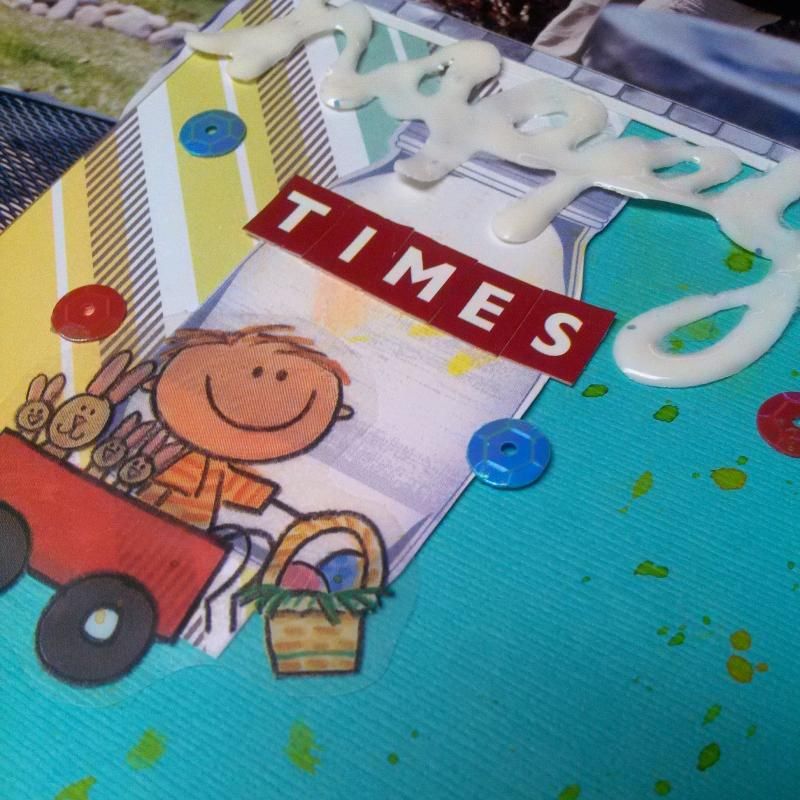
If all of this seems like way too much effort for you, you can also apply the puffy paint directly to your layout or as an outline to your stamping. I did this when I was first playing with puffy paint on my ICAD cards for June. For more information about these direct to paper ways to play with puffy paint check out ICAD Challenge Week One.
This Faux Acrylic Word technique is really fun to play with. I intend to keep trying and experimenting with it until it does just what I want from it! There are a lot of ways that you could use this technique to create unique elements to your scrapbooking pages. I would love to hear about any experiments you do with Puffy Paint, so make sure to leave me a comment if you decide to give it a go!
7 comments
What a great idea. I will remember that one. Love your page and you've achieved the masculine look well.
ReplyDeleteGreat job with the forgery :) A fun layout too
ReplyDeleteThink I too would be the quickest if chocolate was involved!
ReplyDeleteGreat post - I like your page a lot, especially that split title, it really works.
ReplyDeleteLove your puffy words - worth the work!
ReplyDeleteThx for sharing the tutorial! Happy looks great on your page.
ReplyDeleteGlad you could manage a great masculine page with your girlie kit :D
What a clever tutorial for the puffy paint! Great page and well done for using up your kit
ReplyDelete