Counterfeit Kit Club
ICAD
inspiration
project life
scrapbooking
Index-Card-A-Day (ICAD) Challenge Plus Mist Staining Tutorial - Week 4
12:00 AM
 Today, I want to show you my cards for the 2014 Index-Card-A-Day (ICAD) Challenge hosted by .
Daisy Yellow
The challenge is basically to decorate and play with 4x6 index cards, however you desire. I am using my cards this year in my Project Life spreads for my scrapbooking albums (focusing mainly on April and May of 2014, since I am behind).
For more information on the challenge check out Daisy Yellow's ICAD section. I have not a clue what this week's theme was because I am insanely behind on the challenge, but I'm not letting that bother me! As long as I play and work on my cards when I have a couple moments, I'm allowing myself to live with that. So for this week, I really wanted to try out a new technique that I have heard about through the scrapbooking world this month - staining with your mists! It can give you a watercolor look without needing much water (so your paper won't warp nearly as bad) or it can give you a look like you have stains (think coffee, tea, ink) all depending on the pressure and how you apply the mists. I have no idea where I heard about this technique first, though I think it might have been Irit Landgraf on Youtube.
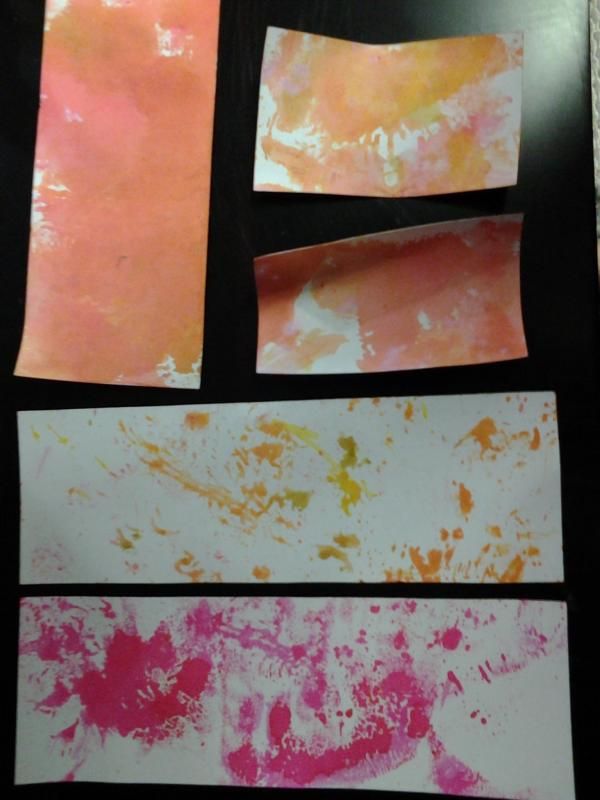
I first tried to do the staining using wax paper, like I normally do with stickers and such. It was mixed success. It really didn't give me the look I wanted. I also tried to add some water to the mist, and it really didn't work for me. Instead, it created super runny puddles. So here are the steps to my process of creating this stained look.
Steps
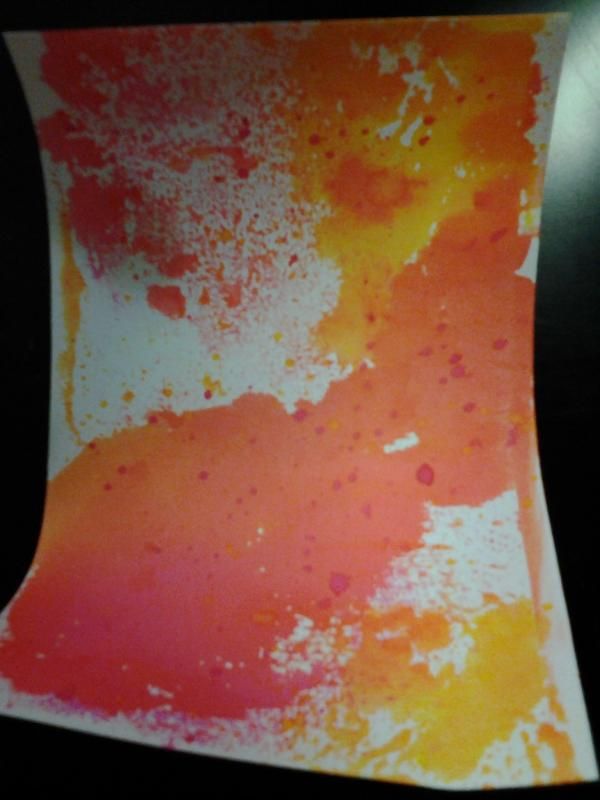
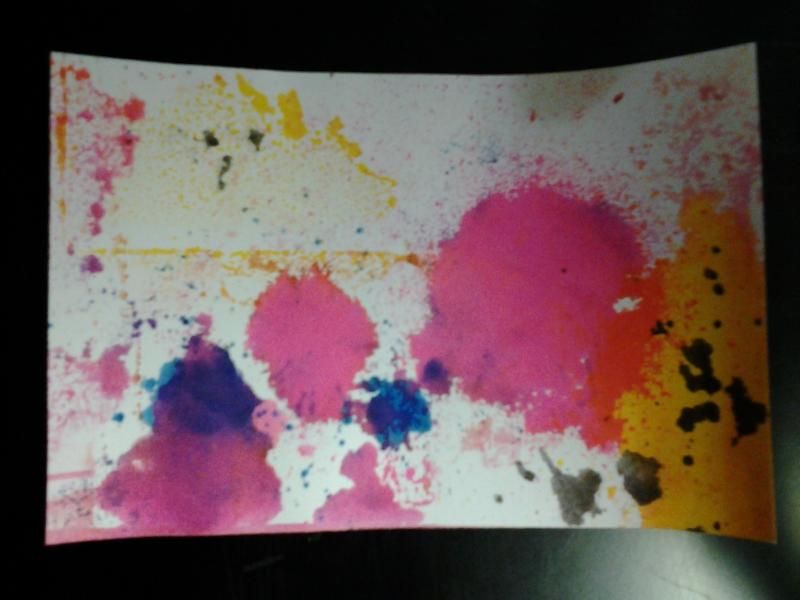
First, I used a piece of old product packaging (the clear plastic). I, then, used my Dylusions sprays to mist a spot on the packaging. Next, I simply applied the packaging to my paper in different spots, until the packaging was clean of the mist. I continued using the colors that I selected (pink, yellow, and blue) for my ICAD color scheme for this week. I love the variety of staining that you can get and the texture that it creates by using this technique. And it is super simple and quick, which is a huge plus for this Momma of a 11 month old!
 |
| This is the start of Card #22 |
I created a whole bunch of backgrounds to play and experiment with this technique and then I pulled out my Project Life spread for my birthday in order to finish up the cards with decorating and journaling.
Day 22

For this card, I added a piece of a Dear Lizzy Neapolitian Dreamy Days that I cut out (Polaroid frame that says "let the fun begin". I also added a scrap of a Paper Studio black and white chevron. I finished it off with some Thickers (memo), a Date sticker from Echo Park, and some numbers from the Dear Lizzy Soiree Foam Thickers.
Day 23
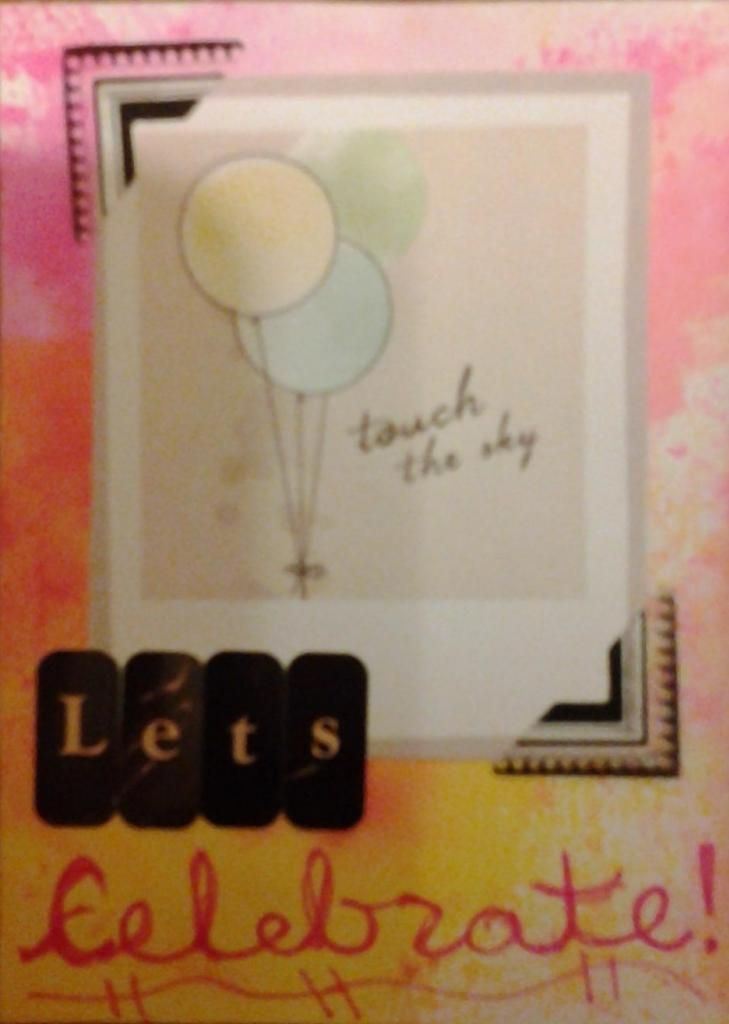
On this card, I added another cut out piece from the Dear Lizzy paper that says "touch the sky". I also added some K&Company diecuts that are vellum corners. The letters are from a Prima alpha sheet (Romance), and I just doodled the celebrate with a pink Stabilo marker.
Day 24
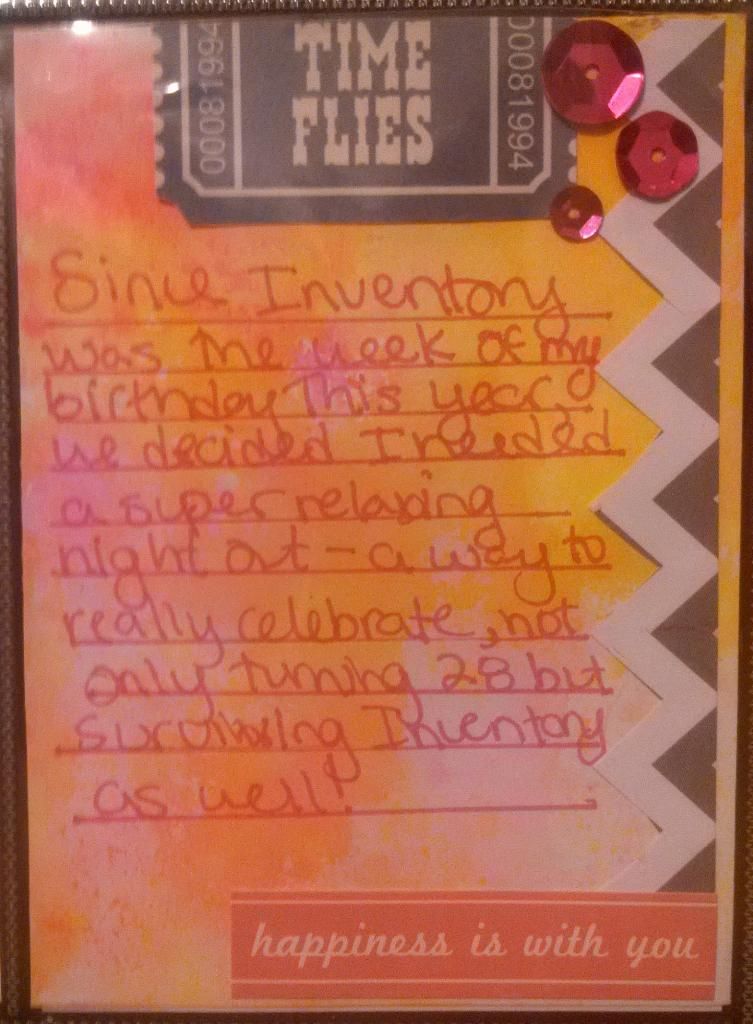
For this card, I used another piece of the Paper Studio chevron, as well as a cut out piece from the Echo Park Beautiful Life - Tickets paper. I added some pink sequins and a phrase sticker from Echo Park.
Day 25
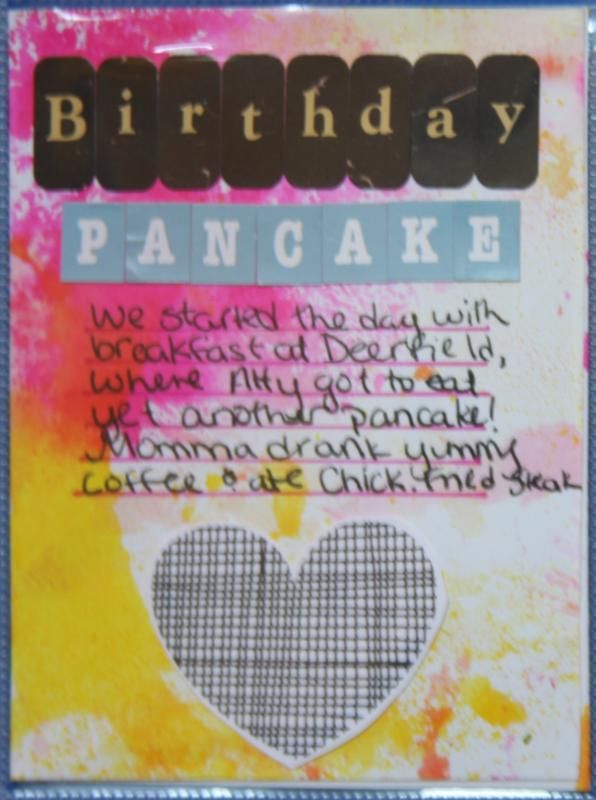
On this card, I kept it fairly simple and focused on journaling, so I just added some alphas from Prima and Nikki Sivvils. I also added a cut out heart from Amy Tangerine (another $5 Michaels Pack).
Day 26
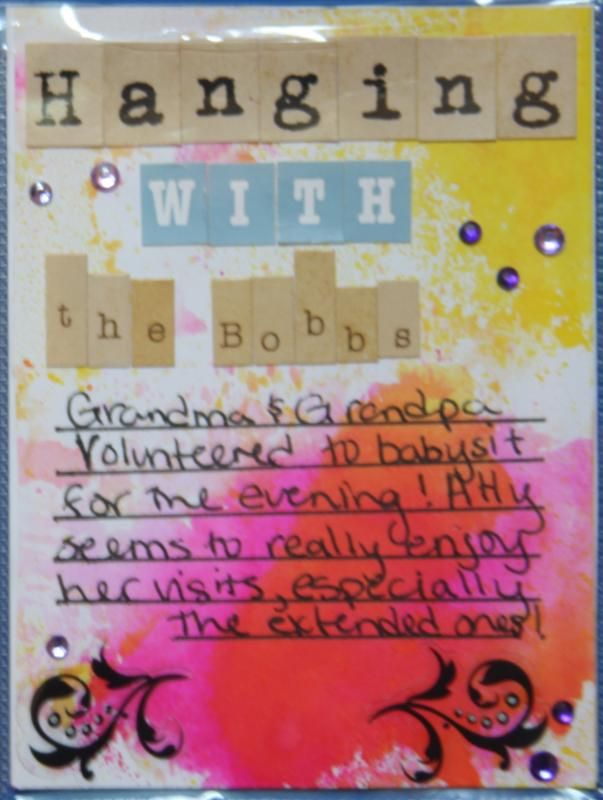
Another journaling card, again with letter stickers from Prima and Nikki Sivvils. I also added some K&Company vellum diecuts and Studio G gems.
Day 27
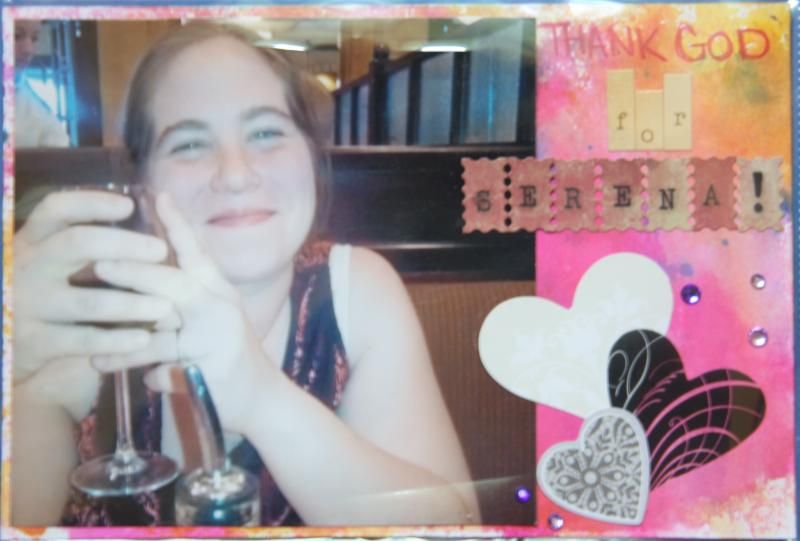
For this card, I included the one photo of me from my Birthday. Again I used the Prima letter stickers, along with some doodled words with my pink Stabilo marker. The hearts are from the K & Company diecut pack and then some more Studio G gems.
Day 28
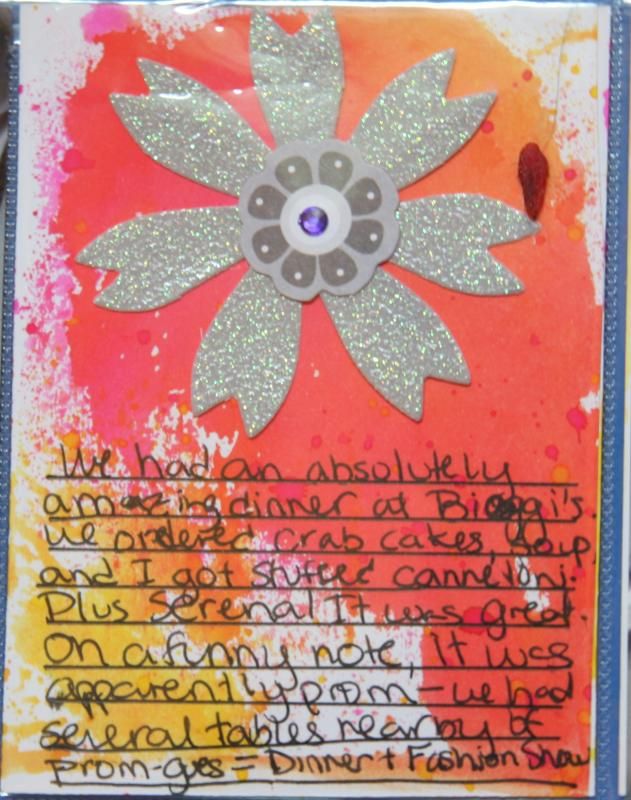
This is another journaling focused card, so I kept the embellishments quite simple. I combined some of the K & Company diecut flowers and added a Studio G gem in the center.
Project Life Spread

This is how the cards came to together to create my Project Life spread for my birthday. It is a double pager. On the front page, I have included photos of our morning breakfast, and Grandma watching Atty so we could enjoy an adult evening, and then a photo of myself celebrating with a lovely glass of Serena wine at my favorite restaurant.
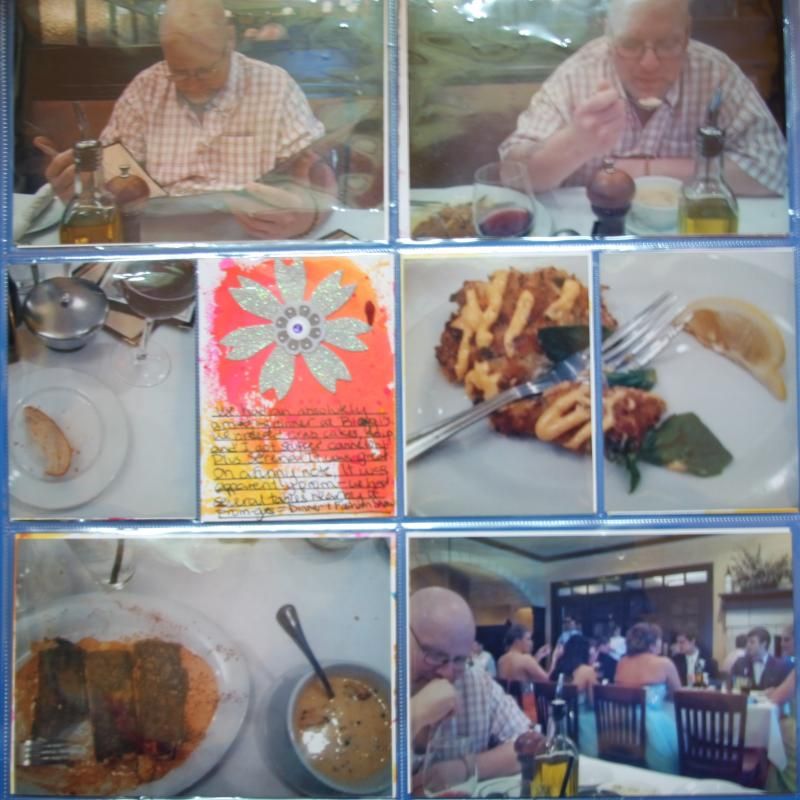
On the backside, I have included photos of Jamie checking out the menu, and eating the yummy soup we ordered, as well as several yummy food shots! I also included a photo of our "dinner entertainment" that we received for free, since it was apparently Prom Night in our local area. So we got a lovely fashion show as part of our dinner package.
Hey I Made This!
I also decided to try my hand at We R Memory Keeper's Inked Rose Collection that were included in the July Counterfeit Kit inspiration this month using this technique. I started with a Dear Lizzy Frame 8.5" x 11" sheet that I got in a $5 Michael's mega pack, so I'm not sure which collection it comes from. Then I just applied the sprays in the same method as I did with the ICAD cards.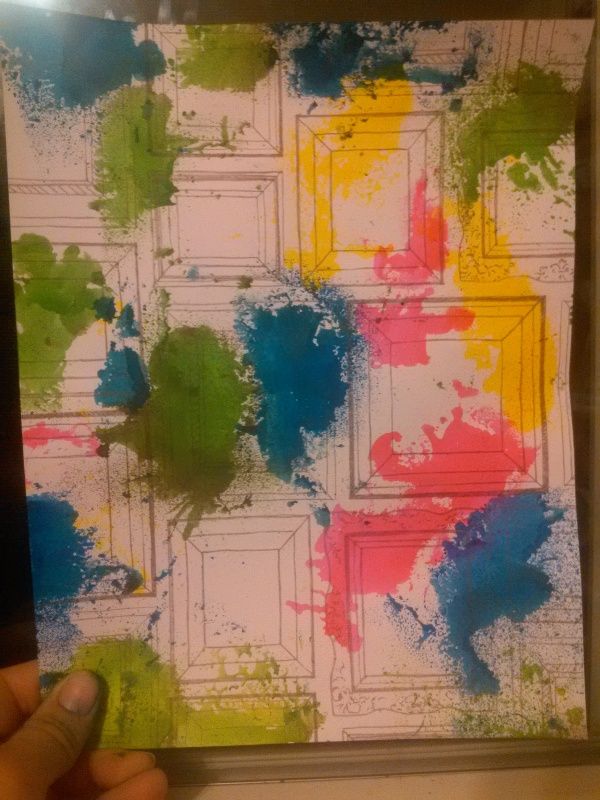
1 comments
Very interesting, and I love the way you used them on your project!
ReplyDelete