
December daily
mini album
scrapbooking
tutorial
video
December Daily Quickie #1 - Clusters
12:00 AM
Let's Cluster!
December Daily Quickie #1 is all about creating clusters. Clusters are literally just a grouping of elements that can either be used to further tell your stories or add a little bit of design to your page. Clusters are a great way to add a pop of embellishment with little effort. There are so many different ways that you can create your clusters from layering washi tape or scraps of patterned paper to tags and diecuts or stickers. Clusters can be complicated or simple. If you have only fifteen minutes and you want to add a bit of detail to your photos, using clusters is a fabulous technique. They work in pocket page layouts, scrapbooking layouts, or even in your planner!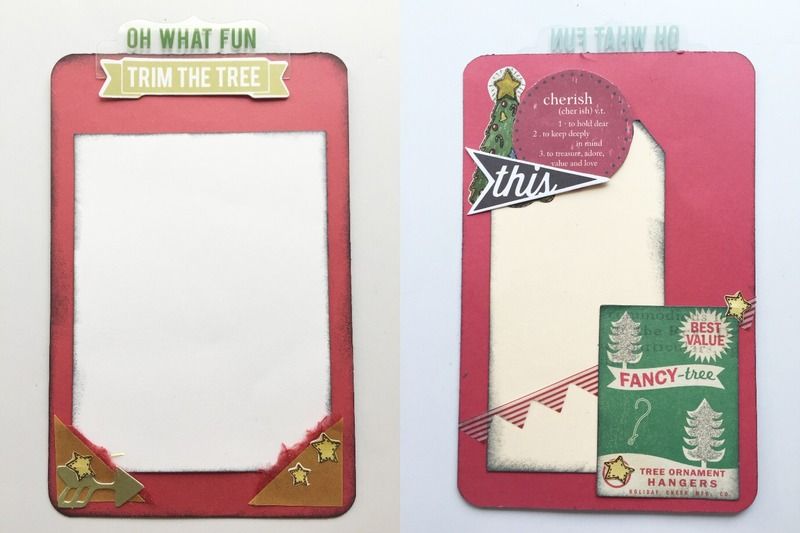
Think About Your Embellishment as a Story-telling Element
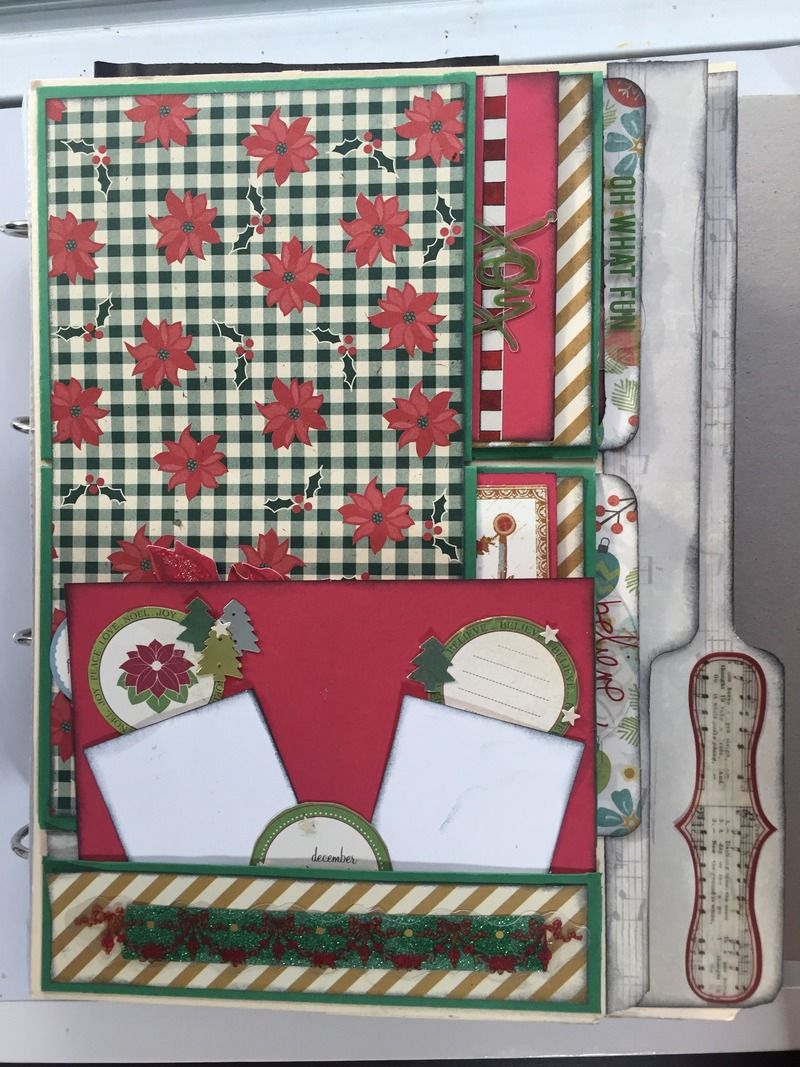
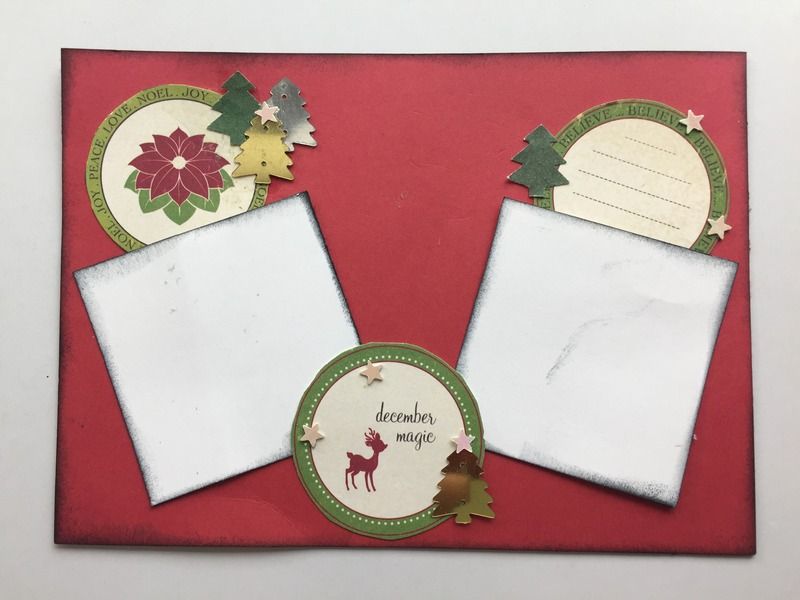
This is an example of one of the photo mats that I create using clusters of diecuts. My photo will go on the front of the card, while my journaling will go on the back. These will tell the story of our family creating paper chains with markers, crayons, paint and inks, along with some glitter on red, green, and white cardstock. These sheets will be cut and assembled later so that my daughter can help hang them onto the tree! I wanted to continue this story through the use of my embellishments, so I choose elements that reminded me of decorating the tree. The trim the tree banner was definitely a favorite for beginning to tell this story. When I found the diecut about the tree ornament hangers, I just knew I wanted to use it for this story as well. I continued the storytelling elements through the use of the stars, which were a common element on the decorated sheets.Top Tips for Creating Clusters
- Start with something that you can use as base piece - this may be your photo mat, a tag, or a large diecut or a scrap depending on what you are planning on using your cluster for later.
- Once you have your base piece, decide on what your large elements will be and begin to place them, scatter your medium size pieces and end with your smaller pieces.
- Make sure to overlap pieces and tuck pieces behind others.
- Inking all the edges with ink can give a consistent feel for the whole piece. Or you could outline with pen.
- Add finishing touches such as splatters of ink/sprays, enamel dots, doodles, or whatever small details you feel are needed.
- Odd numbers of similar items in your clusters can make them really interesting - odd numbers seem to attract the eye better. For example, three different but round elements can make a great cluster when combined together.
- Other ideas of items to use in your clusters - flowers, doilies, enamel dots, stamped images, scraps, punched shapes
For my clusters today, I’m inking my edges in black Memento Ink and focusing on using diecuts from a K&Company and a Heidi Swapp (Believe) diecut packs. Also, I’m trying to keep these clusters fairly flat, since the clusters will be part of my photo mats that are tucked into pockets, and I don’t want anything to get stuck or not come out of the pockets properly. No matter how you decide to create your clusters - packed full of embellishment goodness or simple and elegant, just remember to have fun!
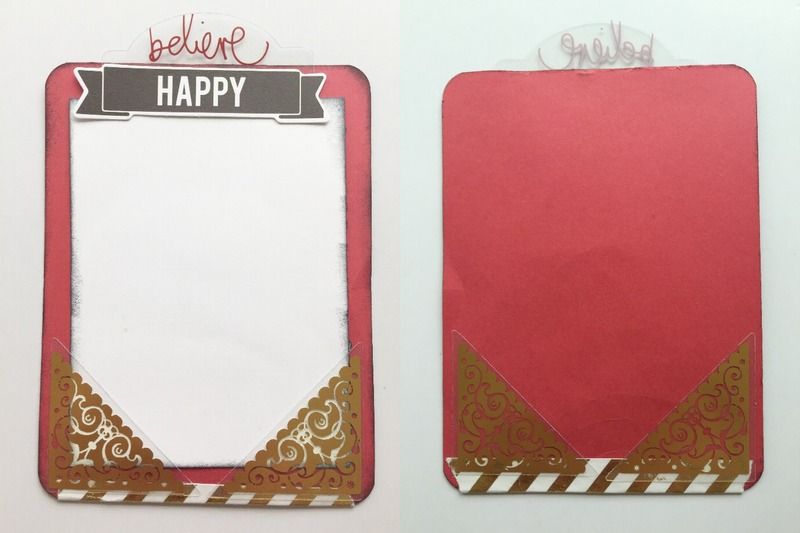
My second photo mat will tie in with a photo of my husband reading a book to my daughter. I wanted to keep embellishments to a mininum on this piece, because I will be printing a 3x4 photo for the front and a 3x4 journaling card for the back. So I really didn't have much room for much decorating. But I still wanted to add a little touch of something. So I pulled out some washi tape to act as a base for my diecut corners and added that cute Heidi Swapp banner at the top to go along with the photo of my daughter and my husband during their reading time.
Plus 3 More Photo Mats
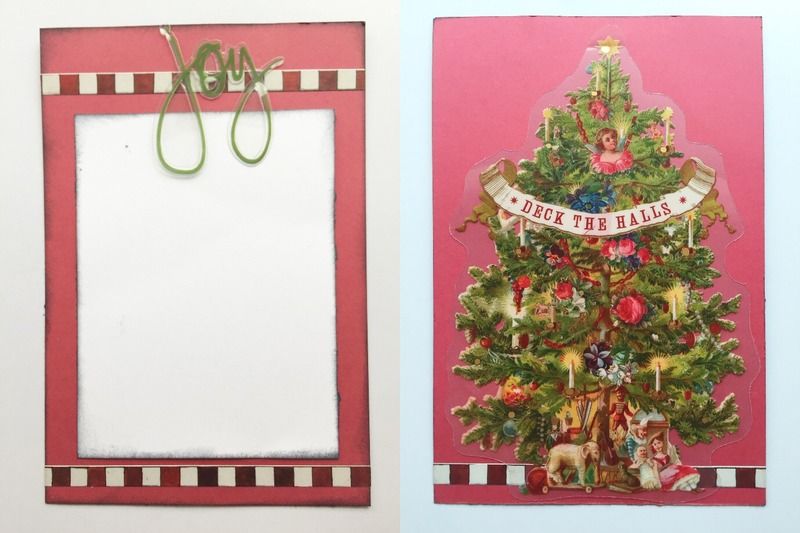
While I was able to create two of my photo mat clusters on video, I did finish three of them off camera so that I could complete my spread. This photo mat will hold a picture of me in the process of finishing putting the tree up and spreading out the branches. So I thought the Deck The Halls tree from the K&Company diecut pack was the perfect fit! I kept this card really simply and just used the tree, some border stickers, and the joy word piece from Heidi Swapp (Believe) to finish it off.
This photo mat is another one that I kept simple. The photo for this piece is of Atty wearing her Santa's hat, while I continue to work on the Christmas tree. Since it's the opening day for our album, I thought the Season's Greetings sentiment worked quite well! The back side of this photo mat is a large diecut from K&Company.
The last card I have to show you for today is for some 2x2 photos of my daughter knocking the tree over onto to me. Yep. The little stinker thought that was the best thing ever! For this photo mat, I played around with some punched shapes (the Christmas trees and tiny stars) as well as some circles I fussy cut from a piece of patterned paper.
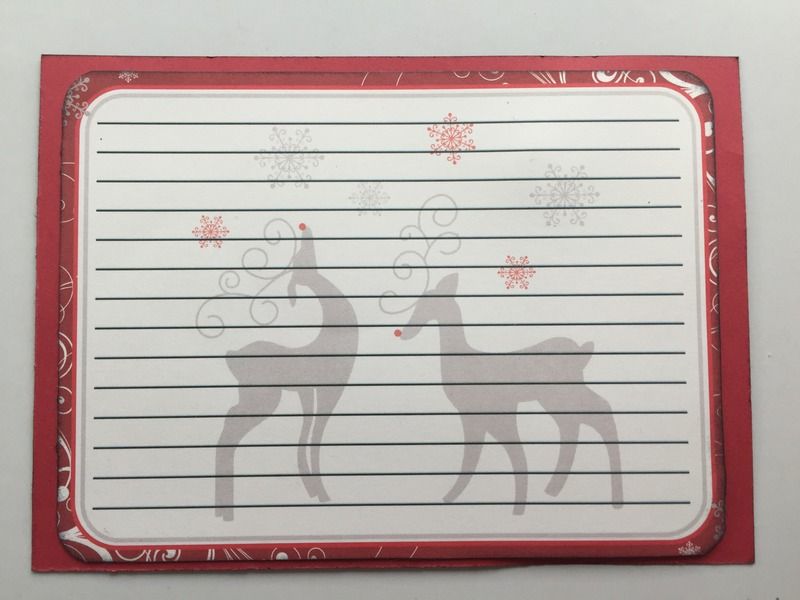
The backside of the card is a Christmas recipe card that I cut down just a smidge so it would fit onto my photo mat. The journaling and another 2x2 photo will end up on this part of the card, so I decided not to embellish yet.
I hope I have inspired you to get creative with your embellishing and incorporate some of your storytelling elements into this part! Look at some of your items in new and different ways! You can use a Christmas recipe card as a journaling spot, or as a photo mat! Pattern paper can be cut up for decorative elements and punches can be used to create your own diecut pieces. While I was embellishing photo mats, you could also use these ideas to create your own Project Life style cards for your December Daily album.
Don't Forget Your Small Stories
The last several days have just been about small stories in our family. On the second, it snowed for a bit. So day 2 is all about our first snow in December. It was coming down pretty hard in the morning when we left for daycare. Atty was excited to be able to come home and play in the snow after school. Unfortunately, it snowed throughout the day until about noon and then it melted before she got home! It wasn’t very sticky snow - I never saw any on the road, just a soft dusting on the grass and the roofs.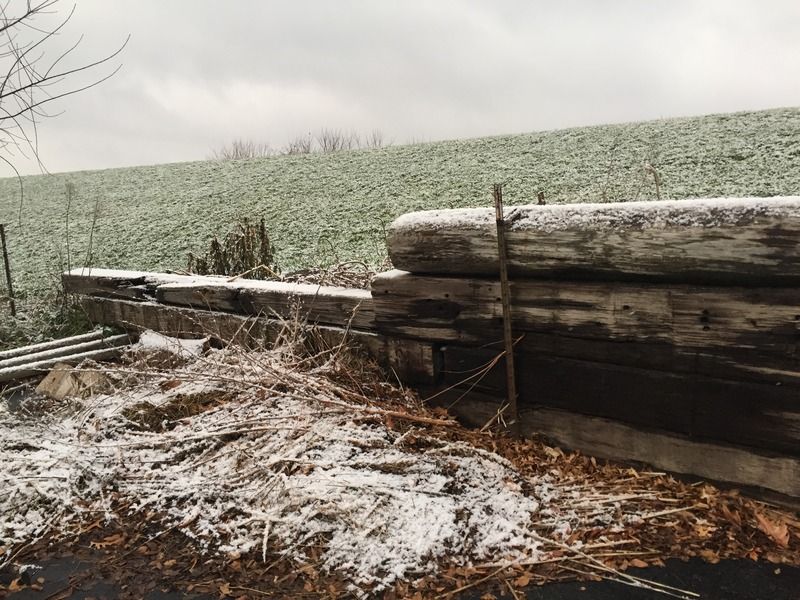
Day 3 is all about my migraine. I had a horrible migraine from the time I woke up and it continued through the entire day. Jamie even drew a bath for me and I soaked for about an hour in complete darkness and it never let up. I even took a nap for several hours and the darn thing hung on tight. Coffee and Dr. Pepper and food didn’t even take the edge off. It’s been a miserable sort of day where I can barely think a coherent thought. I have no photo from this day, and I’m not sure how I’ll document it for my album. Perhaps I’ll just write this story on a journaling card and that will be sufficient.
How is your December Daily progressing so far? Leave me a comment and let me know about your successes and your problems so far with this awesome project!
0 comments