
December daily
mini album
project life
scrapbooking
video
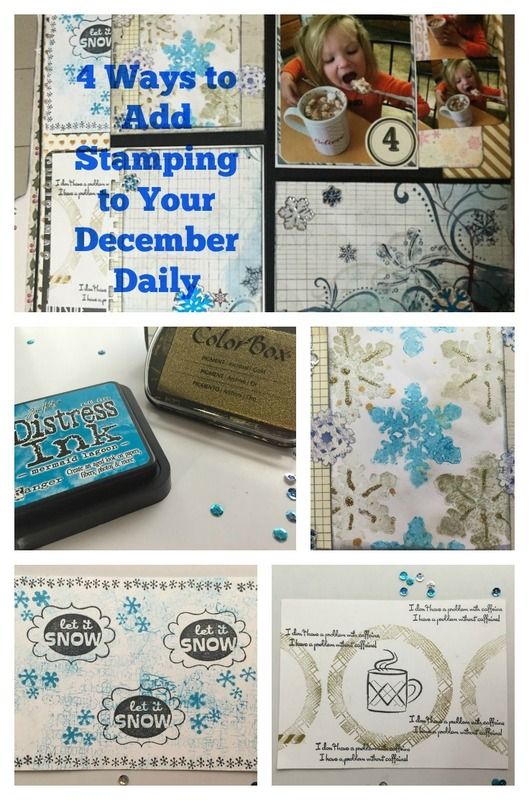
4 Quick Ideas for Stamping in Your December Daily
1:52 PMDecember Daily Quickies (2 & 3)
I’m totally in the beginner phase of this technique and what I’ve learned has mostly been trial and error. Jennifer McGuire is a great resource if you want to learn more. I enjoy stamping to create my own custom papers, backgrounds, project life cards, tags, and journaling cards, despite my stamping issues. Today, I’ll walk you through stamping some custom project life or pocket page style cards that you can use in your December Daily album.
I have gained an understanding about myself, that my stamping will not be perfect right now. Not without practice. So I’m trying to incorporate stamping into more of my art and crafting. And I’m trying to accept the imperfections that come because they add more handmade charm. As you play and practice, you will get better. Even if you don’t have the desired success the first time, you can keep at it.
Selecting Inks
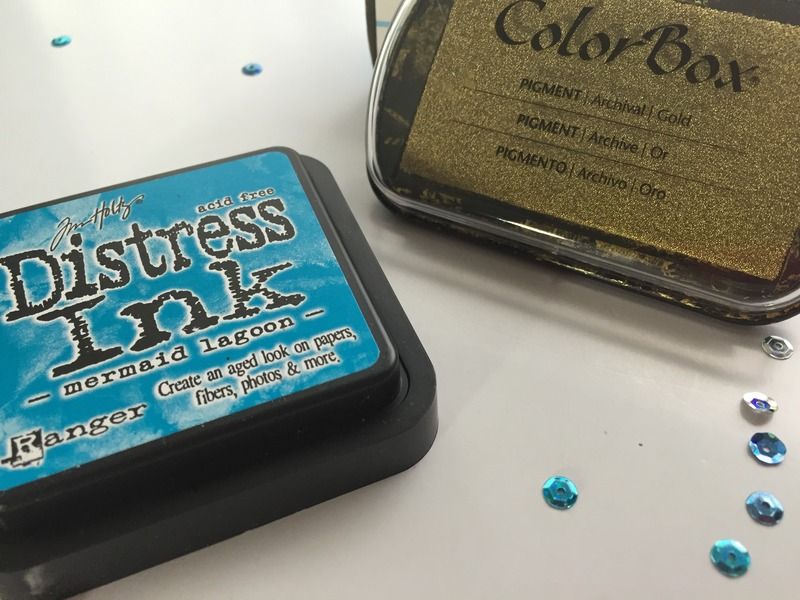
For these four project life/pocket style cards I used a selection of Christmas and Winter themed stamps plus a few everyday stamps mixed in. The inks I am using are Distress Ink - Mermaid’s Lagoon, Colorbox - Gold, and Memento - Black. Distress Inks and Memento are water-based dye inks, while the Colorbox is a pigment ink. Dye inks are water-soluable so they will react if you try adding water or other water-based materials (like markers, watercolors, or other Distress products). Dye inks dry a bit quicker than pigment inks, because pigment ink doesn’t soak into the paper like dye inks. This quality about pigment inks makes them a good choice when you are going to be heat embossing.I always have a harder time using colored inks - they don’t stamp cleanly for me. I have some real issues with Distress Inks stamping properly. I’m not sure why I have these issues and it’s something I’m continuing to experiment with so that I can figure out what I’m doing wrong. I prefer to use just plain black ink for stamping, as I seem to get the best impressions that way without messing up constantly. But for today, I decided to get some practice, experiment, and play. These cards will be used for my December Daily days 3 and 4.
2nd Generation Filler Card
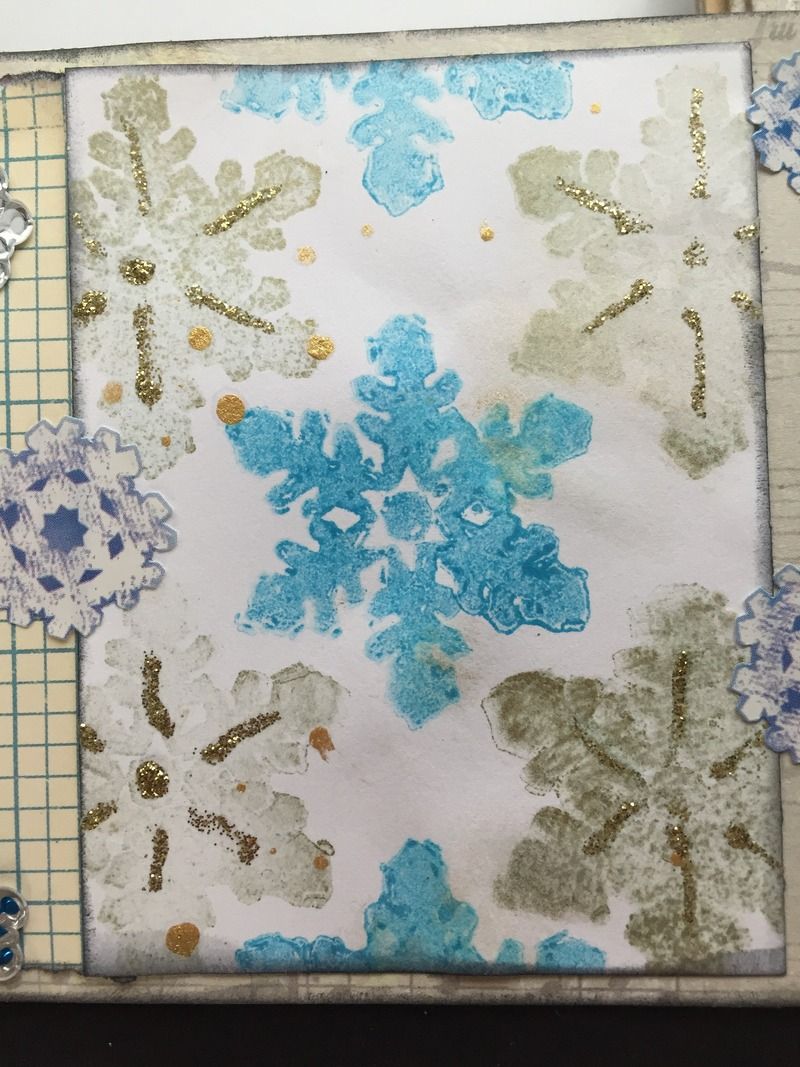
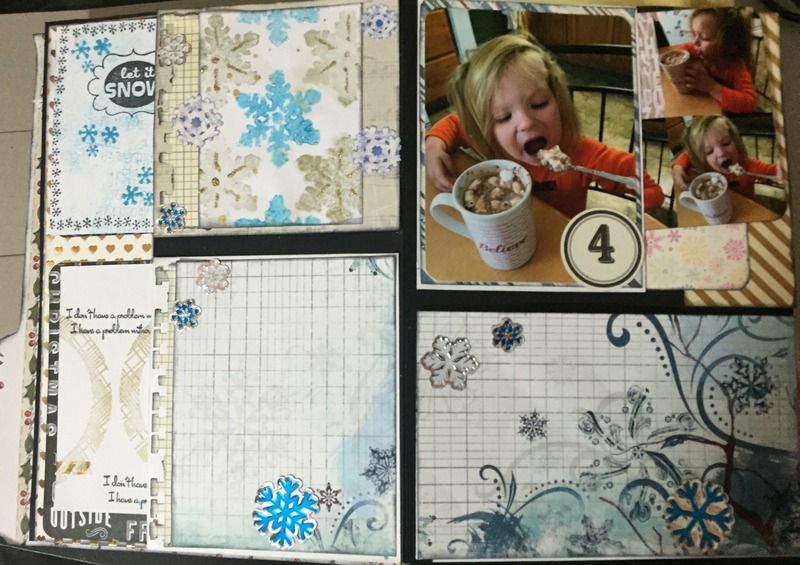
The first card I created is a filler style card. I chose an image of a snowflake from Close To My Heart (Flurries) and the Distress Ink (Mermaid’s Lagoon) and the Gold Colorbox ink. I tested out the stamp ink colors that I had pulled out that I thought would coordinate with the other papers and supplies that I have in my December Daily Kit. I decided that to get a blue that would best coordinate with my other supplies I would do a second generation stamped image in the Mermaid’s Lagoon. So I stamped a full strength version onto a scrap piece of paper and then stamped my 3x4 card. I started my 3x4 card with a blue snowflake in the middle of the card, and continued stamping working my way to the outside of the card. I wanted a symmetrical design so I stamped two gold snowflakes on either side of the blue, slightly offset from the blue and off the edge of the card.
Using a Background Stamp Plus Focal Images to Create a Filler Card

The second card that I created is another filler style card using a Dylusion background stamp set (Graphic Backgrounds) and Studio G stamps. I started with a Dylusion stamp of text. It looks like a bunch of writing, scribbles, overlapping one another. I did another second generation stamped impression using the Mermaid’s Lagoon color so that my cards would coordinate. I love the Dylusion stamps. For some reason I seem able to get good impressions from them. I also like that I can use the Dylusions without any kind of mount and can just pounce the stamp across my surface with little concern if the impression turns out perfect. After I stamped the Dylusion stamp across my card, I wanted to bring in some focal images from the Studio G stamp sets. I chose the word art “Let it Snow” and some snowflakes. I scattered the “Let It Snow” randomly on my card in black ink. For the snowflake clusters, I chose to use the full strength Distress Ink to add some contrast to the card. I also stamped a border for the card using the snowflake border stamp that is part of the Studio G set.
Learning from a Fail
I attempted to stamp using the Distress Ink and some journaling style stamps to create some journaling 3x4 cards. Unfortunately, I had some issues with getting a clean impression. My image ended up looking very blotchy so I tried stamping it several times, just to get a couple of images that don’t look horrible. I think I was simply pressing too hard, but I’m not 100% sure. Despite, the fact that I can’t use these for a journaling card, I can cut these out and put them on a tag or something and still make use of them. Don’t be afraid to have a piece that doesn’t work out how you expected it to. Try to find a new use for it!Mixing Everyday Stamps with Seasonal Projects
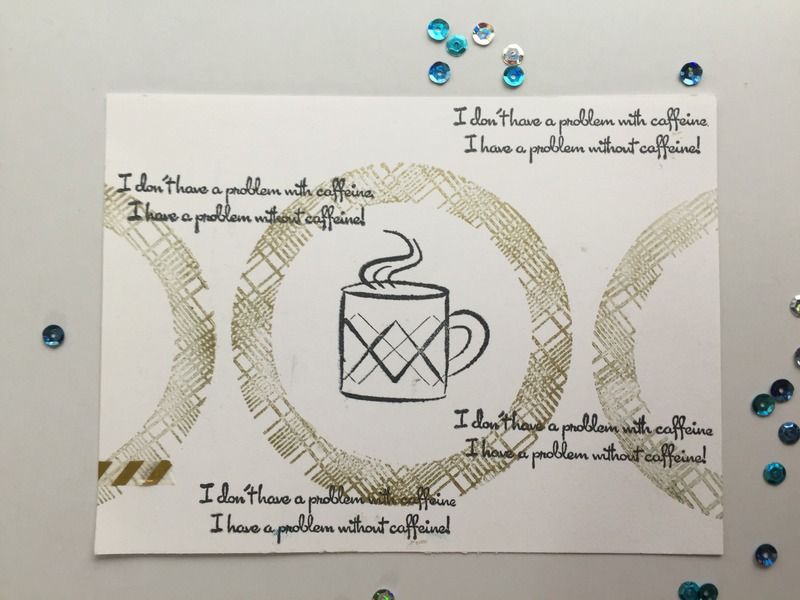
The last card, I decided to use some everyday stamps. I applied the same ideas as the first card for my background of the gold circles. I took the Colorbox Gold Pigment ink and a circle stamp from Martha Stewart’s Heart and Flower stamp set, and I began stamping with one circle in the center and the others in a symmetrical design on the sides of the first. I also decided to stamp the coffee cup from TPC Studio’s Coffee Cafe stamp set as a focal image using the Black Memento ink. I still felt like the card needed something, so I added the sentiment. This card will be used in my December Daily to represent the day that I had a migraine. I tried everything to get rid of that thing, including some rather excess amounts of coffee. Don’t forget you can add in your everyday stamps that you have in your stash by using similar colors that you are using in your seasonal projects. Snowflakes, presents, and holly are not the only icons you are allowed to include in your December Daily!
I hope you’ve enjoyed today’s December Daily Quickie. I’d love to see any projects you make with your stamps! And if you have any tips for making stamping easier, please share in the comments below!
Remember, its okay to not be a master at something. You grow by practicing and experimenting. It's okay to play, even if you don’t have the desired success. Imperfections in stamping simply adds to the handmade character of the piece.
0 comments